Creating a Comfort Bird: A Fun and Easy Guide with Template
7/31/20242 min read
Introduction to Comfort Bird Carving
Wood carving is an ancient art that brings both beauty and relaxation. Among the numerous projects one can undertake, carving a comfort bird stands out for its simplicity and therapeutic benefits. In this guide, we will walk you through the fun and easy way to carve a popular comfort bird from scrap wood. Plus, we have included a template to help you get started!
Materials and Tools Needed
Before diving into the carving process, it’s essential to gather all necessary materials and tools. Here’s a concise list to ensure you’re prepared:
Scrap wood (preferably a softwood like pine or basswood)
Carving knife or rotary tool (Fordom/Dremel)
Sandpaper (various grits)
Pencil
Comfort bird template (included below)
Wood finish (optional)
Ensuring you have these materials will make the carving process smoother and more enjoyable.
Step-by-Step Carving Process
The actual carving process involves multiple steps, each requiring careful attention to detail. Follow along with our step-by-step guide:
1. Prepare the Wood
Begin by selecting a piece of scrap wood that is free from knots and defects. Cut the wood to a manageable size based on the comfort bird template. Ensure the wood is properly dried to avoid any issues during carving.
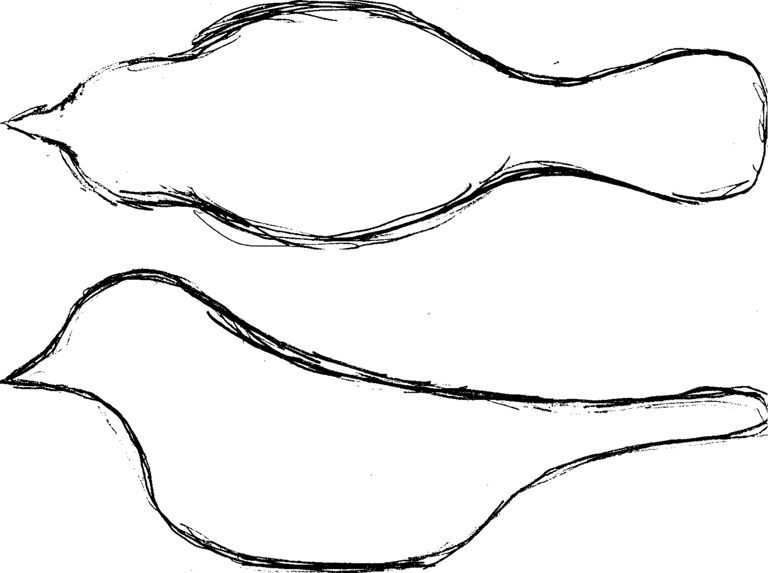
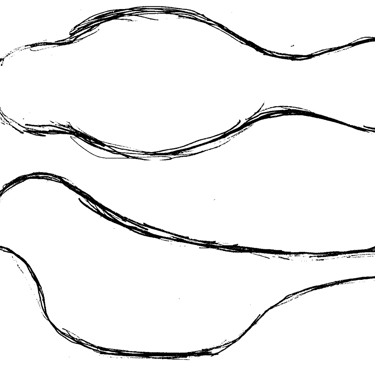
2. Add the Template
Print out the provided comfort bird template and tape it onto the wood. This outline will guide your cut out and ensure accuracy. Use a coping saw, band saw or scroll saw to cut out the top view first. Once it is cut out, tape your sides back together so you will be able to cut out the side view.
3. Initial Shaping
If you do not have any of the above saws, use a carving knife or rotary tool, start by removing large chunks of wood around the outline. Keep your cuts shallow and controlled to maintain the integrity of the shape. Focus on forming the general bird shape before moving on to finer details.
4. Fine-Tuning the Shape
Once the basic shape of the bird emerges, switch to more detailed carving. Refine the curves and add subtle features like the beak and tail. Work slowly and carefully to achieve a smooth, even surface.
Smoothing and Finishing
After you've shaped and detailed the comfort bird, it’s time to smooth and finish your work:
1. Sand the Bird
Begin with a coarse-grit sandpaper to remove any rough edges or tool marks. Gradually switch to finer grits to create a silky smooth surface. Pay extra attention to the curves and intricate areas to ensure uniformity.
2. Apply Finish (Optional)
For added protection and aesthetic appeal, you can apply a wood finish. Choose a finish that suits your preference—be it oil, wax, or varnish—and apply evenly. Allow the finish to dry completely.
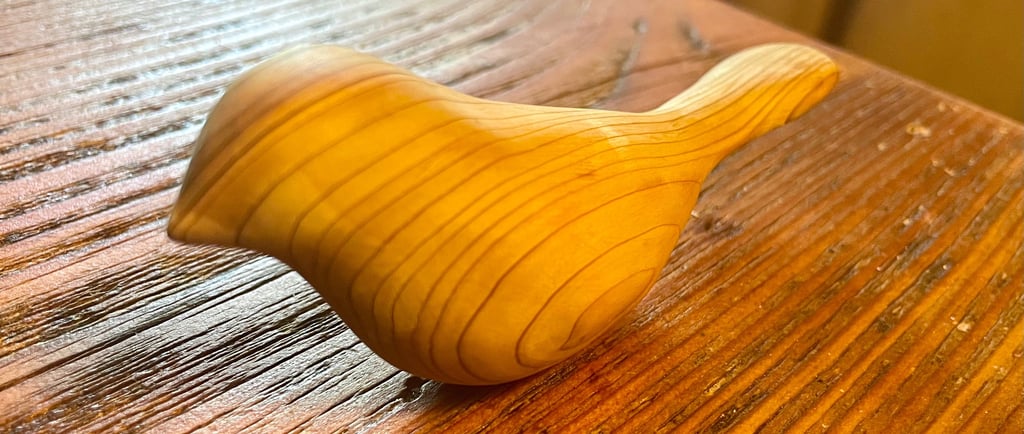
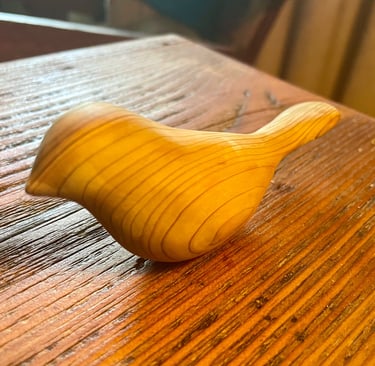
Conclusion
Carving a comfort bird from scrap wood is not only a fun and easy project but also a rewarding one. This guide, along with the included template, offers all you need to start your wood carving journey. Embrace the process, enjoy the craftsmanship, and create a beautiful, comforting piece of art.
Go Out and Carve!
Watch my video on how to do this: